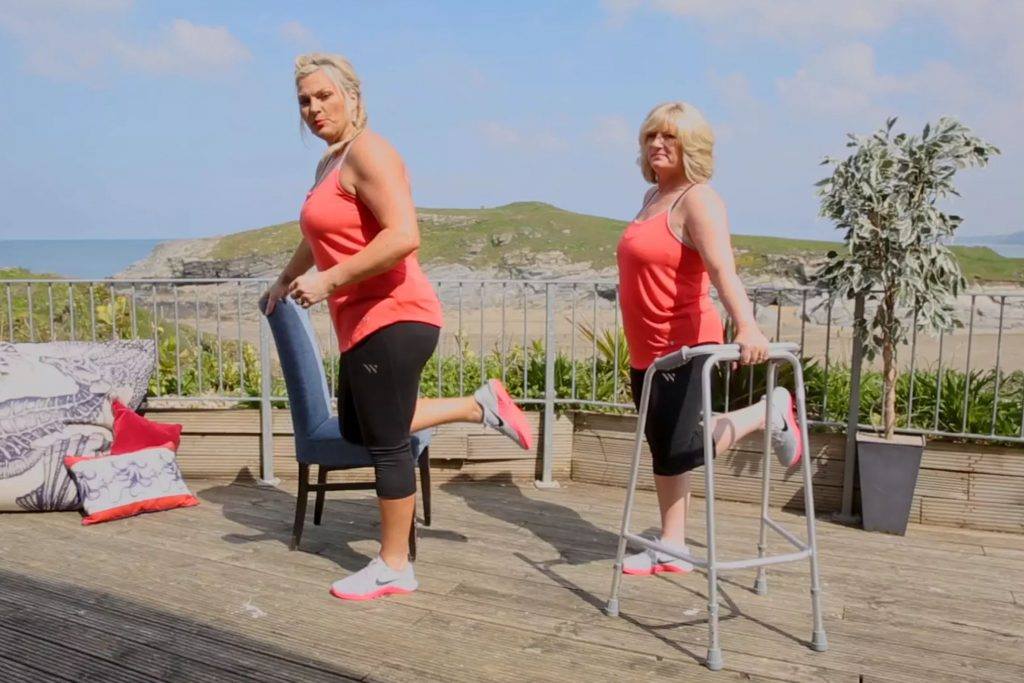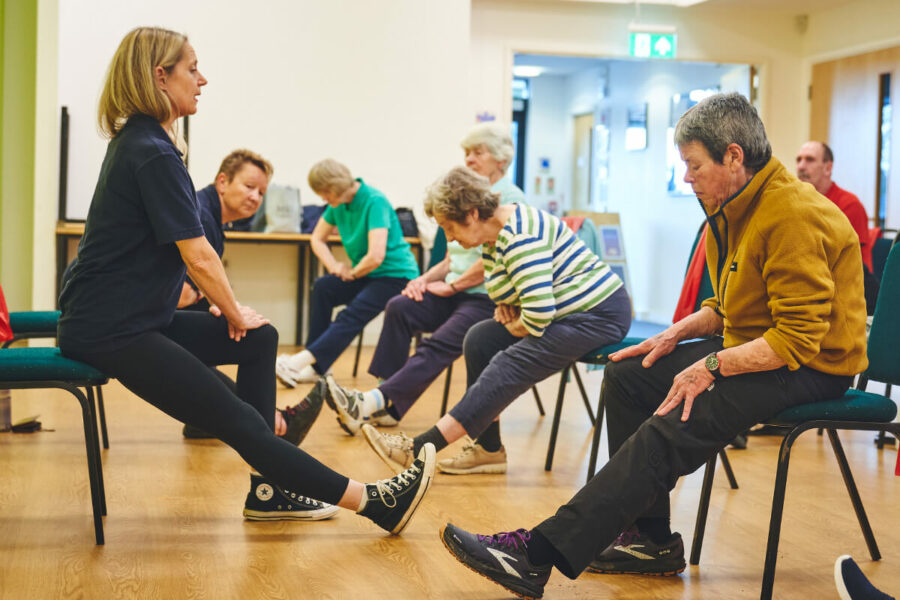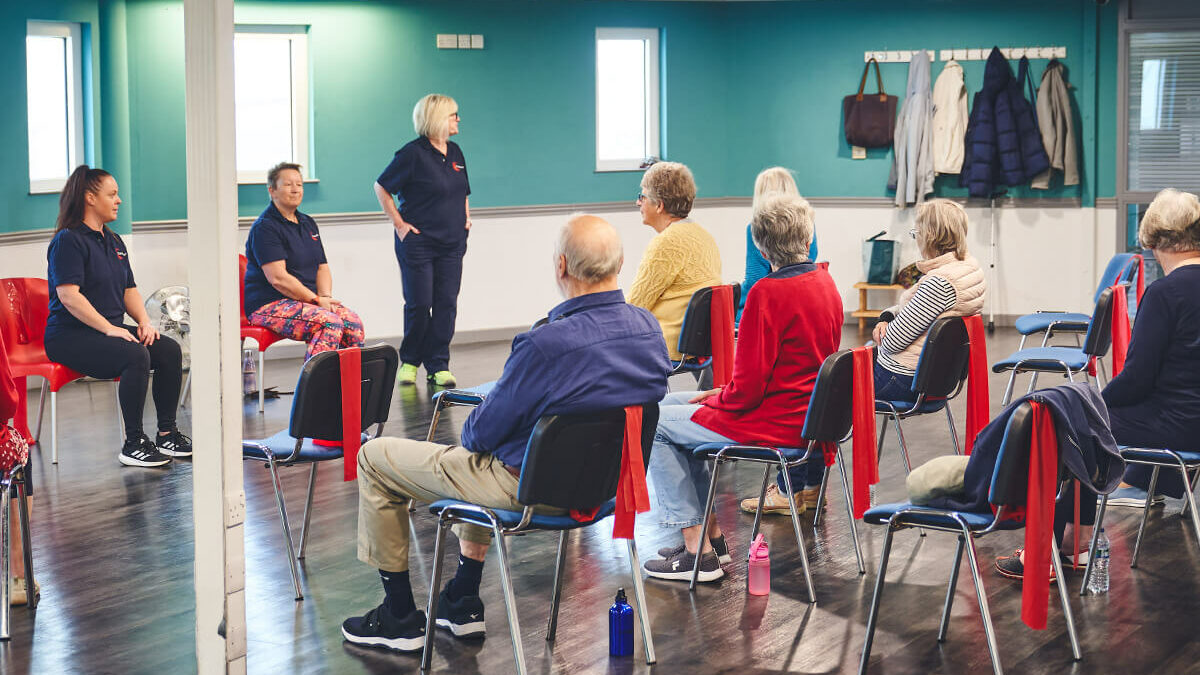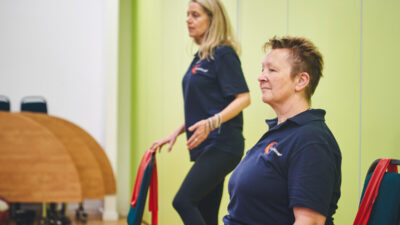
The following lesson is the mobility element of Pilability, with a breakdown of the class flow, language, tone of voice and supporting information. Everything you need to get going. Take time to watch the videos and think about your own delivery and your customers. Enjoy!
Mobility
Mobility is the ability to move a limb through its full range of motion. This is not to be confused with flexibility which is simply the length of the muscle. Mobility is a controlled voluntary movement through its entire functional range of motion.
Why is mobility important?
Mobility can assist in improving our posture. Mobility training can alleviate ‘everyday’ aches and pains as well as improve our body awareness.
As we age we develop “niggles” and it’s the mobility that can help us use our joints fully.
What is the difference between flexibility and mobility?
Put simply, flexibility is the ability of a muscle to stretch. Mobility is the ability of a joint to move. Mobility allows us to prepare the body for the stress of training. It is a vital contributor to reducing the risk of injuries as well as improving technique and range of movement. It is important to note that strength alone isn’t enough to have good mobility.
Why do we call it Mobility rather than a warm up?
So often the warm up is the rush through to get to the main feature of the class. Not in this programme. Prepare, move, warm up. Prepare the joints to move in all their positions so the body is maximised and supported. The warm up is under-appreciated and under-valued. Without fully exploring the joint actions, we are not able to get the full potential of the body. The great speakers of our world all create maximum impact in the first few minutes of their speeches. That is what we want from Pilability.
You can see from the photos below the flow of movement. Coaching points and breakdown are listed below.
We start with Belly Breathing
One minute of belly breathing to prepare and focus. With attention on breathing and an understanding of the power of breath. Stretching sometimes becomes a chore at the end of a workout or a quick reminder to fill a moment. Breathing brings oxygen to your muscles while stretching. Holding stretches while breathing deeply helps you get the most out of your Pilability routine. Deep breathing also calms your nervous system and helps your body relax.
1 Belly Breathing
Lie, facing supine and settle hands onto your abdomen. Think about the sensation into the belly. Breathe straight into the abdomen and experience the rise and fall of the abdomen. This may take a few moments to shift the breath from your chest downwards. Your breath is important and it is the drawing in of the breath that allows your muscle fibres to release and let go.
2 Child’s pose to Collar bone lift flow
Settle into child’s pose, feel your bottom settle towards your heels and experience the stretch into the arms and sides as you reach the arms forward. Flow forward into a three-quarter plank. Sending your power through your shoulders and settle with straight arms. Feel your energy at the base of your throat or collar bone. There is strength in your lines. Repeat the flow.
Remind ourselves that our breath is important and relax into your own rhythm. That our breath is so important and it helps us to relax muscle fibres and release tension ion our bodies.
Transition: Set yourself up, Side lying, hips stacks and 90 at the hips 90 at the knees, arms stretched in front and fingertips touch. You can also have bottom leg straight, top knee bent, bottom arm secures top knee down.
3 Welcome Arms R/L or Sunrise Arms
The top arm floats upwards overhead and along the floor as if you are drawing an arch over your head and shoulders. Continue to draw the arch right the way to other side and return all the way up and overhead until your hands touch again. Take your time with this and see how this feels.
Work through the ribs, through the hips. Listen to your body. How does it feel when you keep your knees together?
What if you focused on the hips stretching?
There is no right or wrong here, just simply move. So either roll to face the opposite way or flip up and over to face the camera.
Enjoy how your body is responding to the opening and rotating. This is really about moving your body to maximize your mobility so if you can make it bigger, go for it. the spine is mobilizing, you are getting the shoulders working and this is stretching around the pelvis. Use that breath.
Transition: to all fours.
4 Thread the Needle Flow R/L
Your opposite hand slides through the space between hand and knee, palm up and settle the shoulder down. Now the same arm leaves the space and rises towards the sky to open chest and wake up the spine. BREATHE.
Time: Repeat for about a minute
Move to Child’s Pose, knees close together
Switch sides and repeat.
It doesn’t matter where your knees are. Have a play with comfort and courage to explore. This is really about your stretch, your shoulders, your range of motion.
Option – alternate R/L or 6 each side then switch
Reset Pose is Child’s Pose
5 Kneeling One Hip Circle R/L
Set up on all fours. (Hip circumduction) With bent knee draw a full circle through the whole hip, like drawing an imaginary circle in the space behind you.
Repeat several times in one direction, observing the increased range of movement and smoothness to the move. How does it feel when you change direction?
How do the hips feel?
Can you push into the edges of this movement?
Spend some time here.
Roll your wrists between sides. The hip is designed to do this circle. Use your breath.
Transition: to a seated position
6 Knee Drops and Stretch Flow
Sit upright with both legs bent around to one side, knees towards the floor. The knees will drop side to side so you are going to move around your mat quite a bit here and the idea is “no touchy” of your hands to assist the move. Lift your knees, arms reaching overhead, knees lift up and up and over to the opposite side and then rotate to slide the arms out over into the diagonal behind you into the furthest, farthest corner.
This challenge wakes up your core and helps you identify the imbalances of the body.
Transition to a low wide squat
7 Sumo squat flow to hamstring stretch flow
Start feet wide, feet flat where possible, hips and tail low, knees bent, with a wide base of support. Keep moving, adjusting right to left. Higher position is completely fine too. Feel comfortable and safe. Then allow your hands to descend to the floor and straighten off your knees, eye gaze through your legs.
Stretch out with the hamstrings and again just a wiggle jiggle right to left and adjust the movement. Feel the stretch in the back of the knees and hamstrings. Slowly lower the tail back down into that sumo squat. To add on, you can press your elbows into the inner thighs and press hands together so you’re using your upper body to press your knees apart. Repeat and enjoy the energy around the hips and knees.
Cat/Cow transition to full standing and heel pump.
Transition to standing, hips flexed to flat back, wide stance, arms straightened on knees..